Here are the two stencils of the final image. One represents the highlights of the image and the other is the midtones. This allows me to overlay them and create a more detailed image.
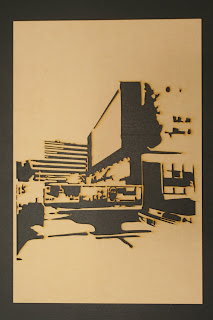
The stencil on the left is the midtones of the image. Preferably I would use darker colours for this, though it depends on the image I am creating with it.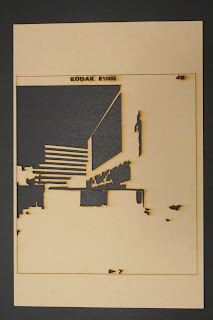
This stencil is the highlights of the image.
This will be used second so the detail shows up over the darker tones.
I have decided to move onto another one of my images with more detail. This image also contains two layers of stencils which allow me to use two colours within the image. Here is the negative and photoshopped verion of it: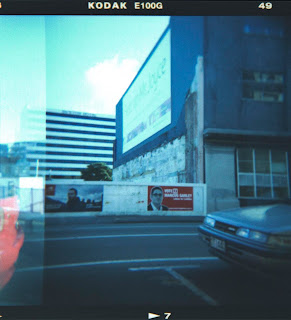

My final proposal will consist of me using stencils to create various prints through spraypainting and light painting. This will be done by selecting an image and simplifying it through colour select in Photoshop to create a stencil out of mdf board. The cutout of the stencil will be completely connected so there are no disconnected pieces making up the image. Once the stencils are created I will experiment by printing onto a variety of materials and surfaces. These may be chosen on their location or texture. The final outcome will involve a range of images consisting of prints on different materials and surfaces producing one type of remediation shown in various ways.
My idea is leading on to producing a spraypainted image of the negavtive through using stencils and spraypaint. These images can also possibly be produced by pressing, splttered paint and shinning light behind the stencils. I am looking at printing these images on paper, gravel, walls and other possible surfaces.
Here are a couple of attempts of using the test stencil on paper:
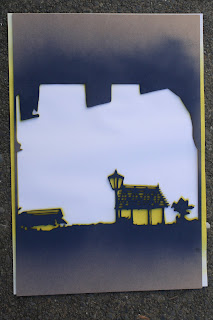

Here is the stencil and etched perspex that I have created from the previous image:
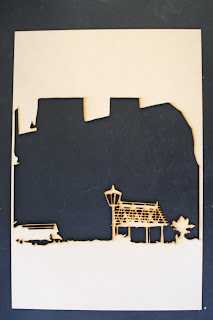
 The stencil turned out strongly though the detail in the etched image is a bit low. I feel that more can be done with the stencil as the perspex can only overlay other things.


